Assignment 0: testing the coding environment
In this non-graded assignment, you will test the coding environment and get familiar with cloning a repository, making changes to it, running the Python code, uploading it to GitHub Classroom, and checking the results.
Assignment objectives
The goal of this assignment is to write a simple Python function that calculates the position of the Moon and returns its right ascension and declination as a tuple. The function can accept a date as a ISO format string (YYYY-MM-DD HH:MM:SS) or None, in which case the current time should be used. The coordinates should be calculated for the Apache Point Observatory coordinates.
Step 1: Accept the assignment
To accept the assignment go to this link and click on the “Accept this assignment” button.
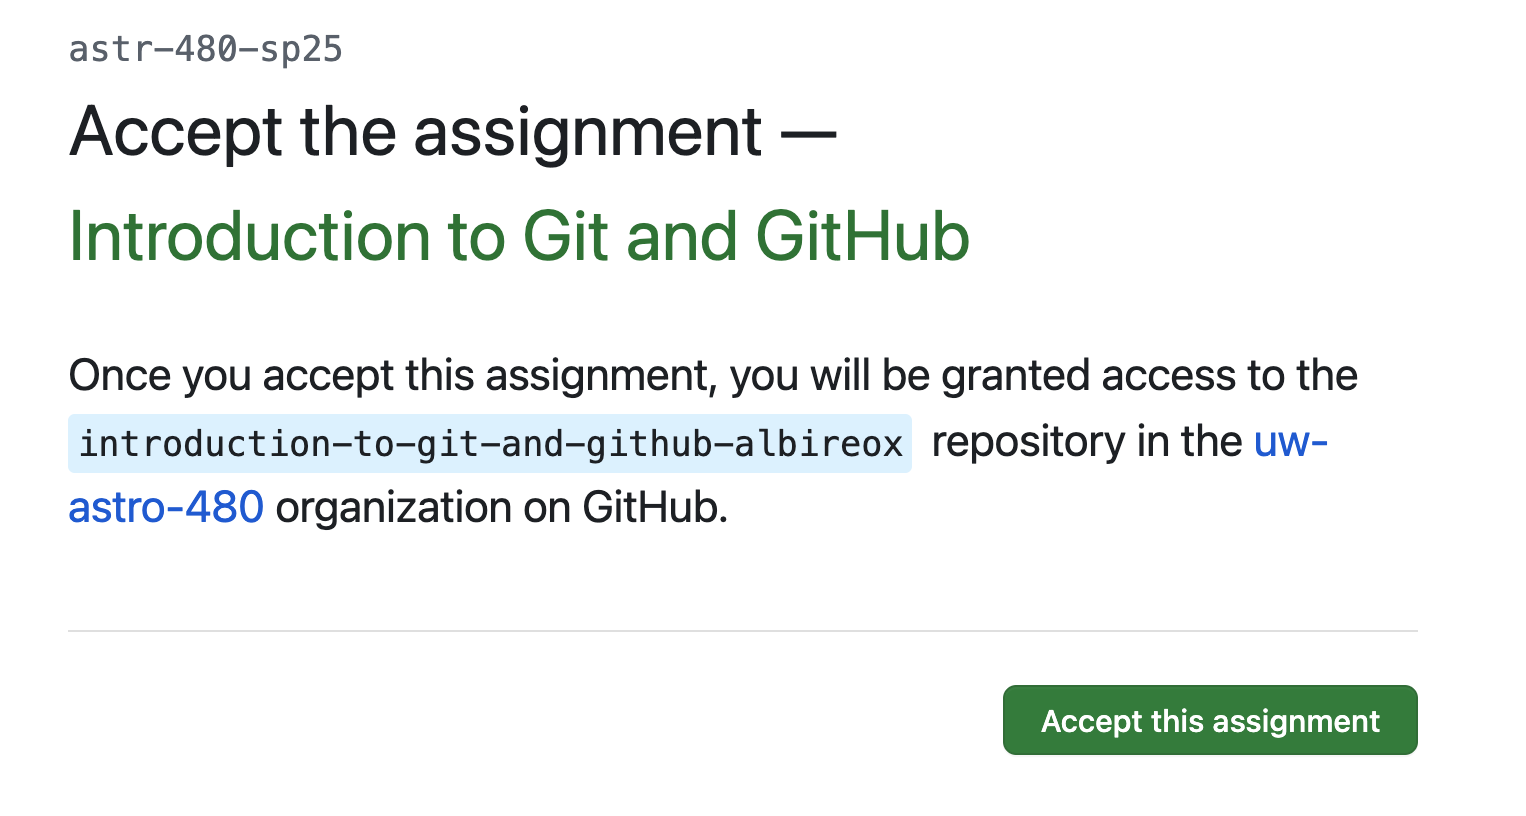
After you do this a new repository will be created in the ASTR 480 GitHub with the prefix introduction-to-git-and-github- and your GitHub username. You’ll see this screen

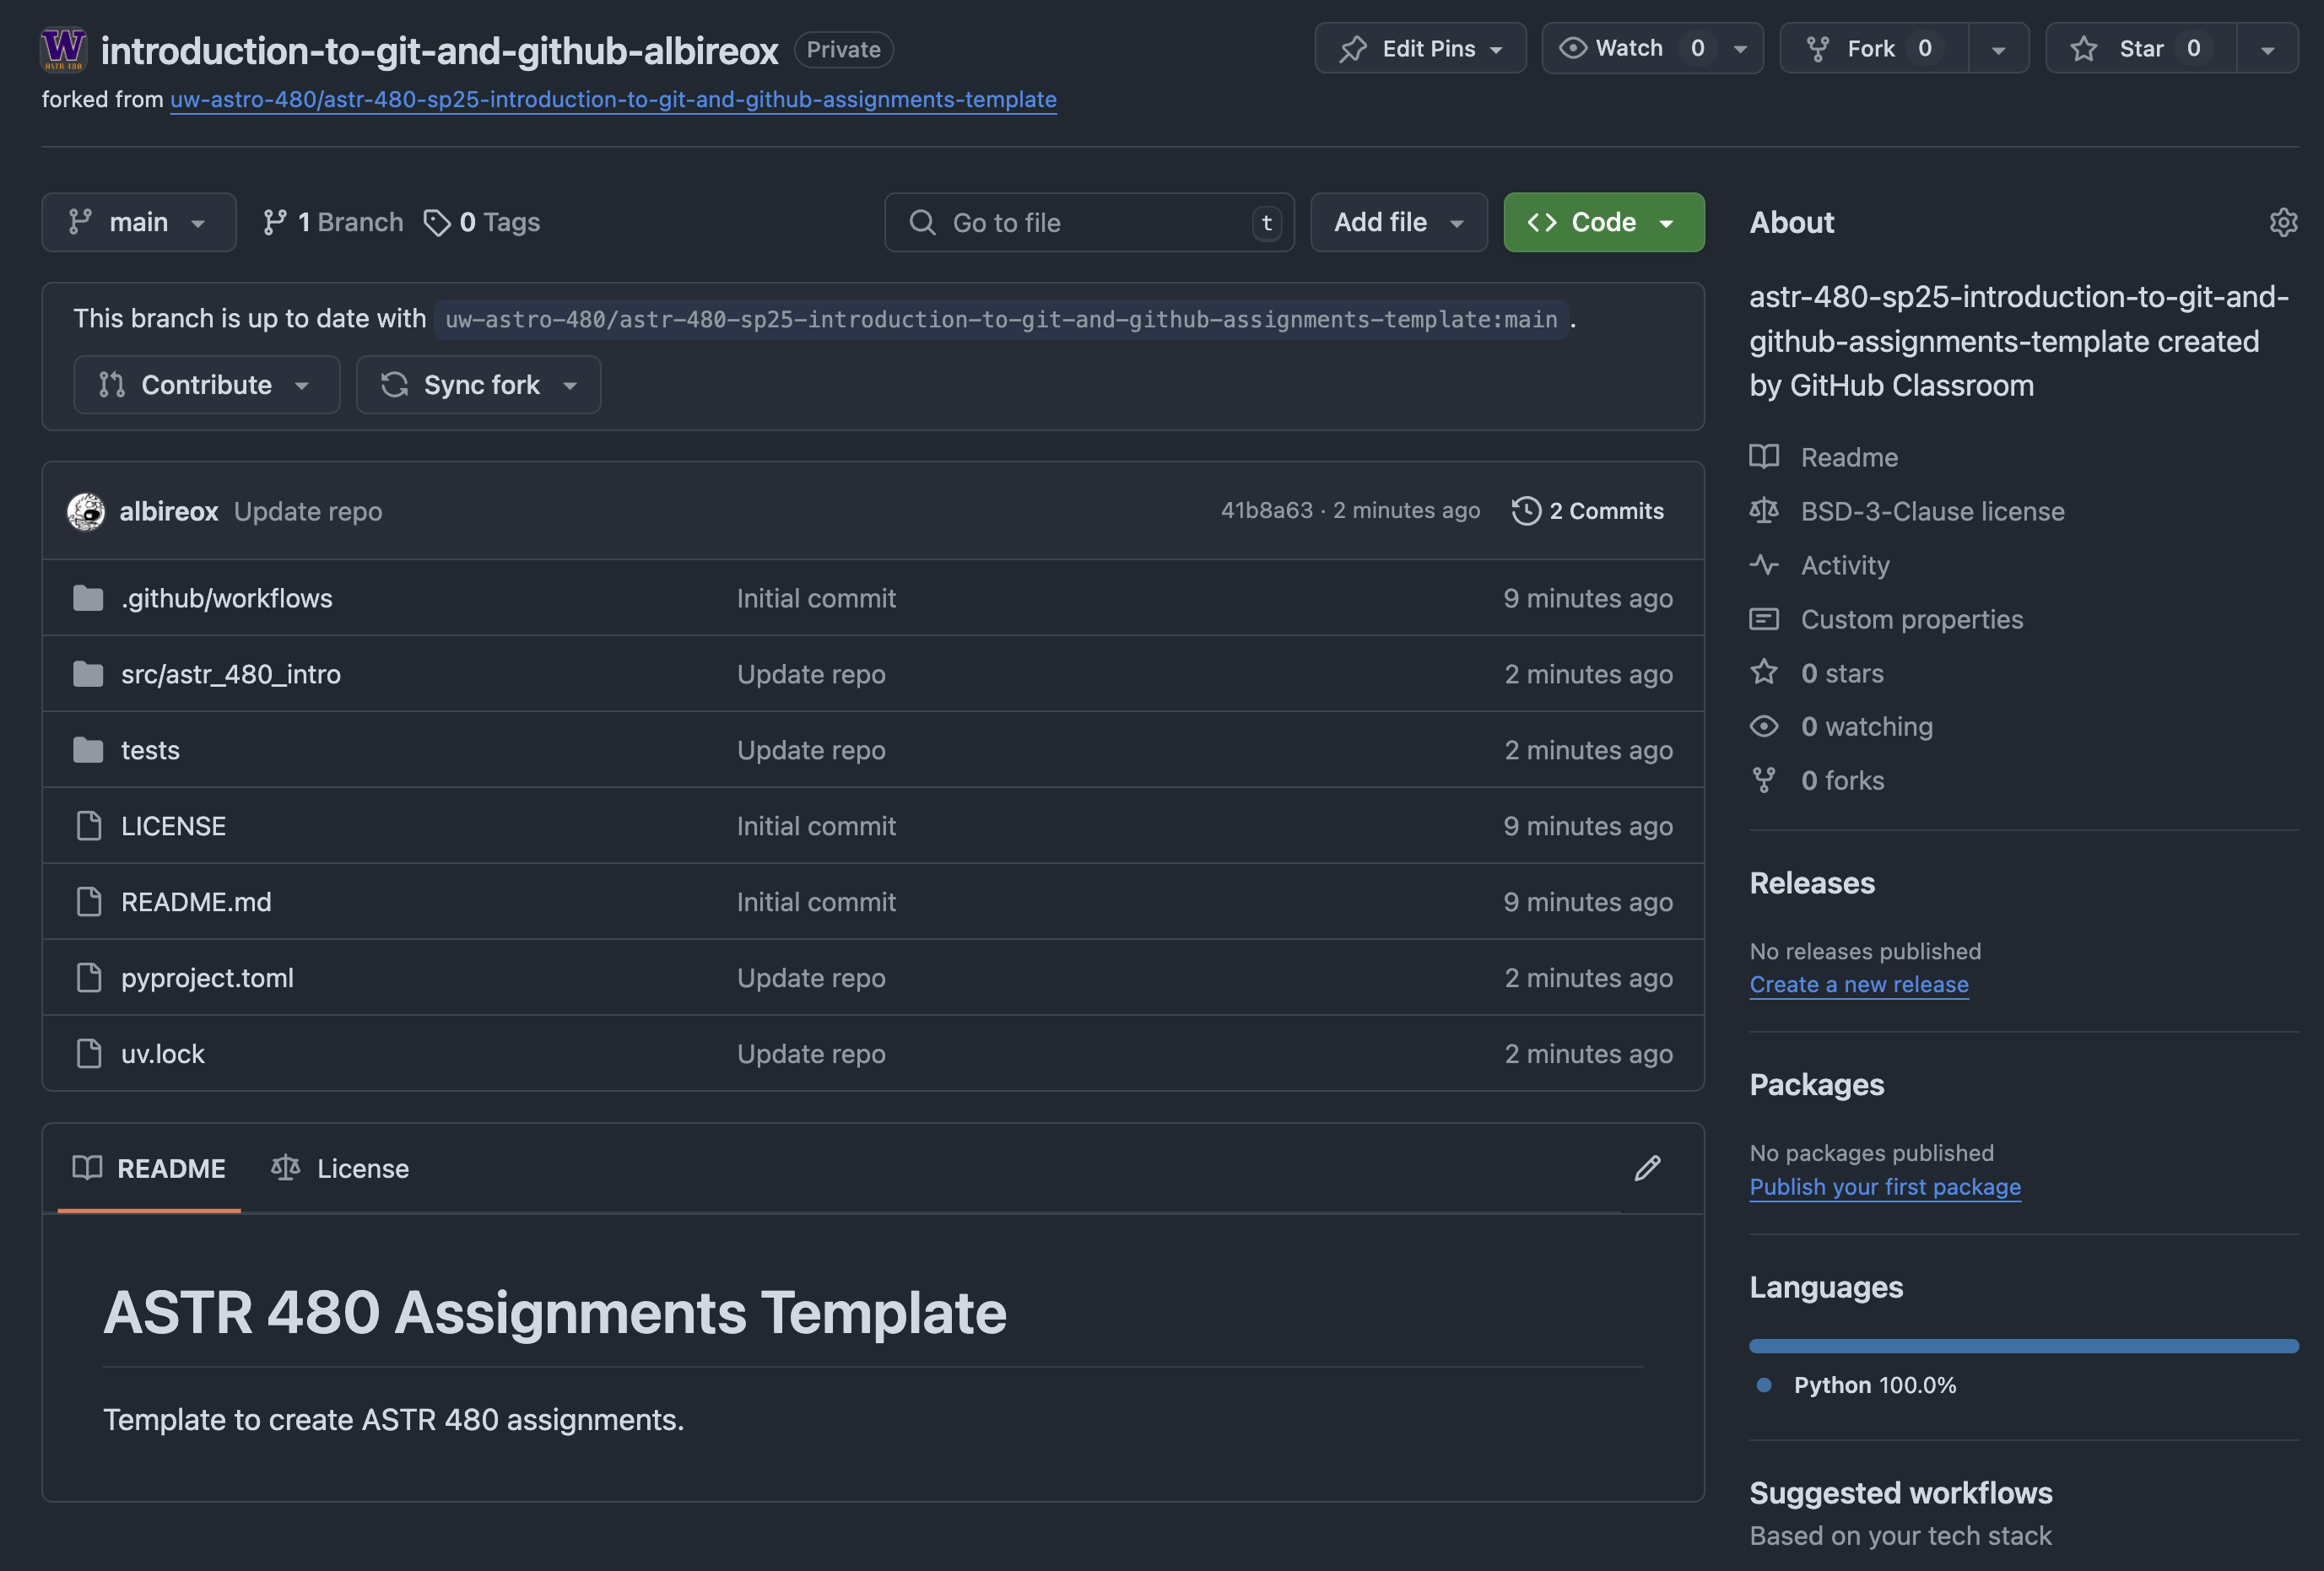
You can now navigate to your assignment repository (for example, for my username albireox it would be https://github.com/uw-astro-480/introduction-to-git-and-github-albireox). You’ll see a repository with some initial code for the assignment
Important
This repository is private and only visible to you and the instructors. Assignments are individual and you should not share code with other students.
Step 2: Clone the repository
Next we will close the repository to the JupyterHub environment (you can also use your local environment if you prefer). To do this go to your JupyterHub, open a new terminal, and run the following commands (replace albireox with your username):
mkdir -p work      # Or other name where you want to keep your work
cd work

# Clone the repository
git clone git@github.com:uw-astro-480/introduction-to-git-and-github-albireox.git

# Change the current directory the cloned repository
cd introduction-to-git-and-github-albireox
Important
Make sure you use the git@github.com:... version of the upstream repository when cloning it instead of the https://github.com/... version. The latter will require you to use a password instead of the SSH key and won’t let you push changes.
Set 3: Look at the file structure
If you now do an tree you can see the files and directories in your repository
$ tree
.
├── LICENSE
├── README.md
├── pyproject.toml
├── src
│   └── astr_480_intro
│       ├── __init__.py
│       └── intro.py
├── tests
│   ├── __init__.py
│   ├── conftest.py
│   └── test_assignment.py
└── uv.lock
Let’s see what some of these files are:
pyproject.toml
This is a configuration file for Python projects. It contains metadata about the project, such as its name, version, and dependencies. It is used by Python package managers like pip or uv to determine which packages should be installed to run the project, and when the source code is.
If you look inside the file you’ll see this section
dependencies = [
    "numpy>=2.0.0"
]
which indicates that we expect Numpy to be installed in the environment. We will see later how to add other dependencies.
There is also a dev section with other development dependencies. These are package used for the assignment automated testing and you should not need to modify it.
uv.lock
This file is a lock file generated by the uv package manager. It’s used for internal purposes and describes the packages that should be installed in the environment. In general you don’t need to worry about it, but it’s good to know that it exists and that may change when you run uv commands.
.gitignore
This file is used by Git to determine which files and directories should be ignored when committing changes to the repository. It contains a list of patterns that match files and directories that should not be tracked by Git. For example, the __pycache__ directory is ignored because it contains compiled Python files that are not needed for the assignment.
src/astr_480_intro/
This directory contains the code for the assignment. It is a Python package or module that can be imported as import astr_480_intro the same way that you import other packages like numpy or matplotlib. The __init__.py file is used to mark the directory as a package and can be empty or contain code that should be executed when the package is imported. The intro.py file contains the code for the assignment.
tests/
This directory contains the code that tests your assignment. Do not modify the files in this directory, but you can look at them to see how the tests are structured. The tests are run by an automated workflow in .github/workflows/test.yaml which also produces a report (more on that later).
Step 4: Create a virtual environment
Next we will install the dependencies for the assignment code in a virtual environment. A virtual environment or venv is a Python feature that allows you to create isolated environments for your projects. This is useful because it allows you to install packages without affecting the system Python installation or other projects. In this case, we will use the uv package manager to create a virtual environment and install the dependencies. Make sure the you are in the root of the repository and run
$ uv sync
Using CPython 3.12.9
Creating virtual environment at: .venv
Resolved 29 packages in 256ms
      Built introduction-to-git-and-github @ file:///home/jovyan/work/introduction-to-git-and-github-albireox
Prepared 1 package in 1.06s
Installed 28 packages in 79ms
 + asttokens==3.0.0
 + coverage==7.8.0
 + decorator==5.2.1
 + executing==2.2.0
 + iniconfig==2.1.0
 + introduction-to-git-and-github==0.1.0 (from file:///home/jovyan/work/introduction-to-git-and-github-albireox)
 + ipython==9.0.2
 + ipython-pygments-lexers==1.1.1
 + jedi==0.19.2
 + matplotlib-inline==0.1.7
 + numpy==2.2.4
 + packaging==24.2
 + parso==0.8.4
 + pexpect==4.9.0
 + pluggy==1.5.0
 + prompt-toolkit==3.0.50
 + ptyprocess==0.7.0
 + pure-eval==0.2.3
 + pygments==2.19.1
 + pytest==8.3.5
 + pytest-asyncio==0.26.0
 + pytest-cov==6.1.0
 + pytest-mock==3.14.0
 + pytest-sugar==1.0.0
 + stack-data==0.6.3
 + termcolor==3.0.0
 + traitlets==5.14.3
 + wcwidth==0.2.13
As the output indicates, a new virtual environment with Python 3.12 has been created in the .venv subdirectory. In addition to other dependencies (the ones defined in dev in the pyproject.toml file), note that numpy has been installed since it was a dependency.
Now we can activate the virtual environment, which will make this the Python interpreter that is used when running Python code until we deactivate it.
source .venv/bin/activate
Note that the prompt has changed to indicate that the virtual environment is active.
(introduction-to-git-and-github) jovyan@jupyter-gallegoj:~/work/introduction-to-git-and-github-albireox$
Step 5: Running the code
If you look at the code in src/astr_480_intro/intro.py you’ll see that it contains a function called get_moon_position which we must implement.
10def get_moon_position(date=None):
11    """Returns the position of the Moon at a given date.
12
13    If the date is None, the current date is used.
14
15    """
16
17    raise NotImplementedError("You must implement this function!")
Our goal is to replace this function with one that returns the position of the Moon at a given date. Let’s start by seeing how we can import and execute this function. In a terminal, run the command ipython to get to an interactive Python shell. Then run the following commands
>>> from astr_480_intro.intro import get_moon_position
>>> get_moon_position()
---------------------------------------------------------------------------
NotImplementedError                       Traceback (most recent call last)
Cell In[2], line 1
----> 1 get_moon_position()

File ~/work/introduction-to-git-and-github-albireox/src/astr_480_intro/intro.py:17, in get_moon_position(date)
     10 def get_moon_position(date=None):
     11     """Returns the position of the Moon at a given date.
     12
     13     If the date is None, the current date is used.
     14
     15     """
---> 17     raise NotImplementedError("You must implement this function!")

NotImplementedError: You must implement this function!
As expected we get an error because the function is not implemented. Similarly, back in the Linux terminal.
Step 6: Initial implementation of the function
Now let’s actually implement the function. We will do that by using astropy, a Python package for astronomy. astropy is not one of the dependencies in our repository, so let’s first add it. In the Linux terminal, with your environment activated, run
uv add astropy
You should see that astropy is added to the pyproject.toml file and the uv.lock file is updated. Now let’s edit the file src/astr_480_intro/intro.py and implement the function. You can do that by navigating in JupyterHub to the location of the file and opening it in the built-in editor. At the top of the file, add the following import statements
from astropy.time import Time
from astropy.coordinates import get_body, EarthLocation
Then, replace the get_moon_position function with the following code and save the file.
def get_moon_position(date=None):
    """Returns the position of the Moon at a given date.

    If the date is None, the current date is used.

    """

    # Define the location of Apache Point Observatory
    apo = EarthLocation.of_site('Apache Point Observatory')

    # Get the current time if no date is provided
    if date is None:
        date = Time.now()
    else:
        raise NotImplementedError()

    # Get the position of the Moon in GCRS coordinates
    moon = get_body('moon', time=date, location=apo)

    # Return the right ascension and declination of the Moon
    return float(moon.ra.deg), float(moon.dec.deg)
Now we can try running the function again. In the interactive IPython shell, run
>>> from astr_480_intro.intro import get_moon_position
>>> get_moon_position()
(60.300535974651105, 25.317333976667637)
(the exact returned values will vary since we are using the current time). Success! (?)
Step 7: Commit the changes
Now it’s time to commit the changes to the repository. In the terminal, run the following commands (make sure you are at the root of the repository)
git add .
git commit -m "Initial implementation of the get_moon_position function"
git push
The first line adds all the changes to staging area. The second line creates a new commit with those changes, and adds a commit message indicating what changed. The last line pushes the commit to the upstream GitHub repository. In general this is all that you need to know about Git for this assignment (and for most of the course).
If you go back to the GitHub repository and refresh the page, you should see that the commit has been pushed to the repository. However it seems that we have a problem. You’ll notice a red cross next to the commit message. If you click on it, you’ll see that the commit failed the tests.
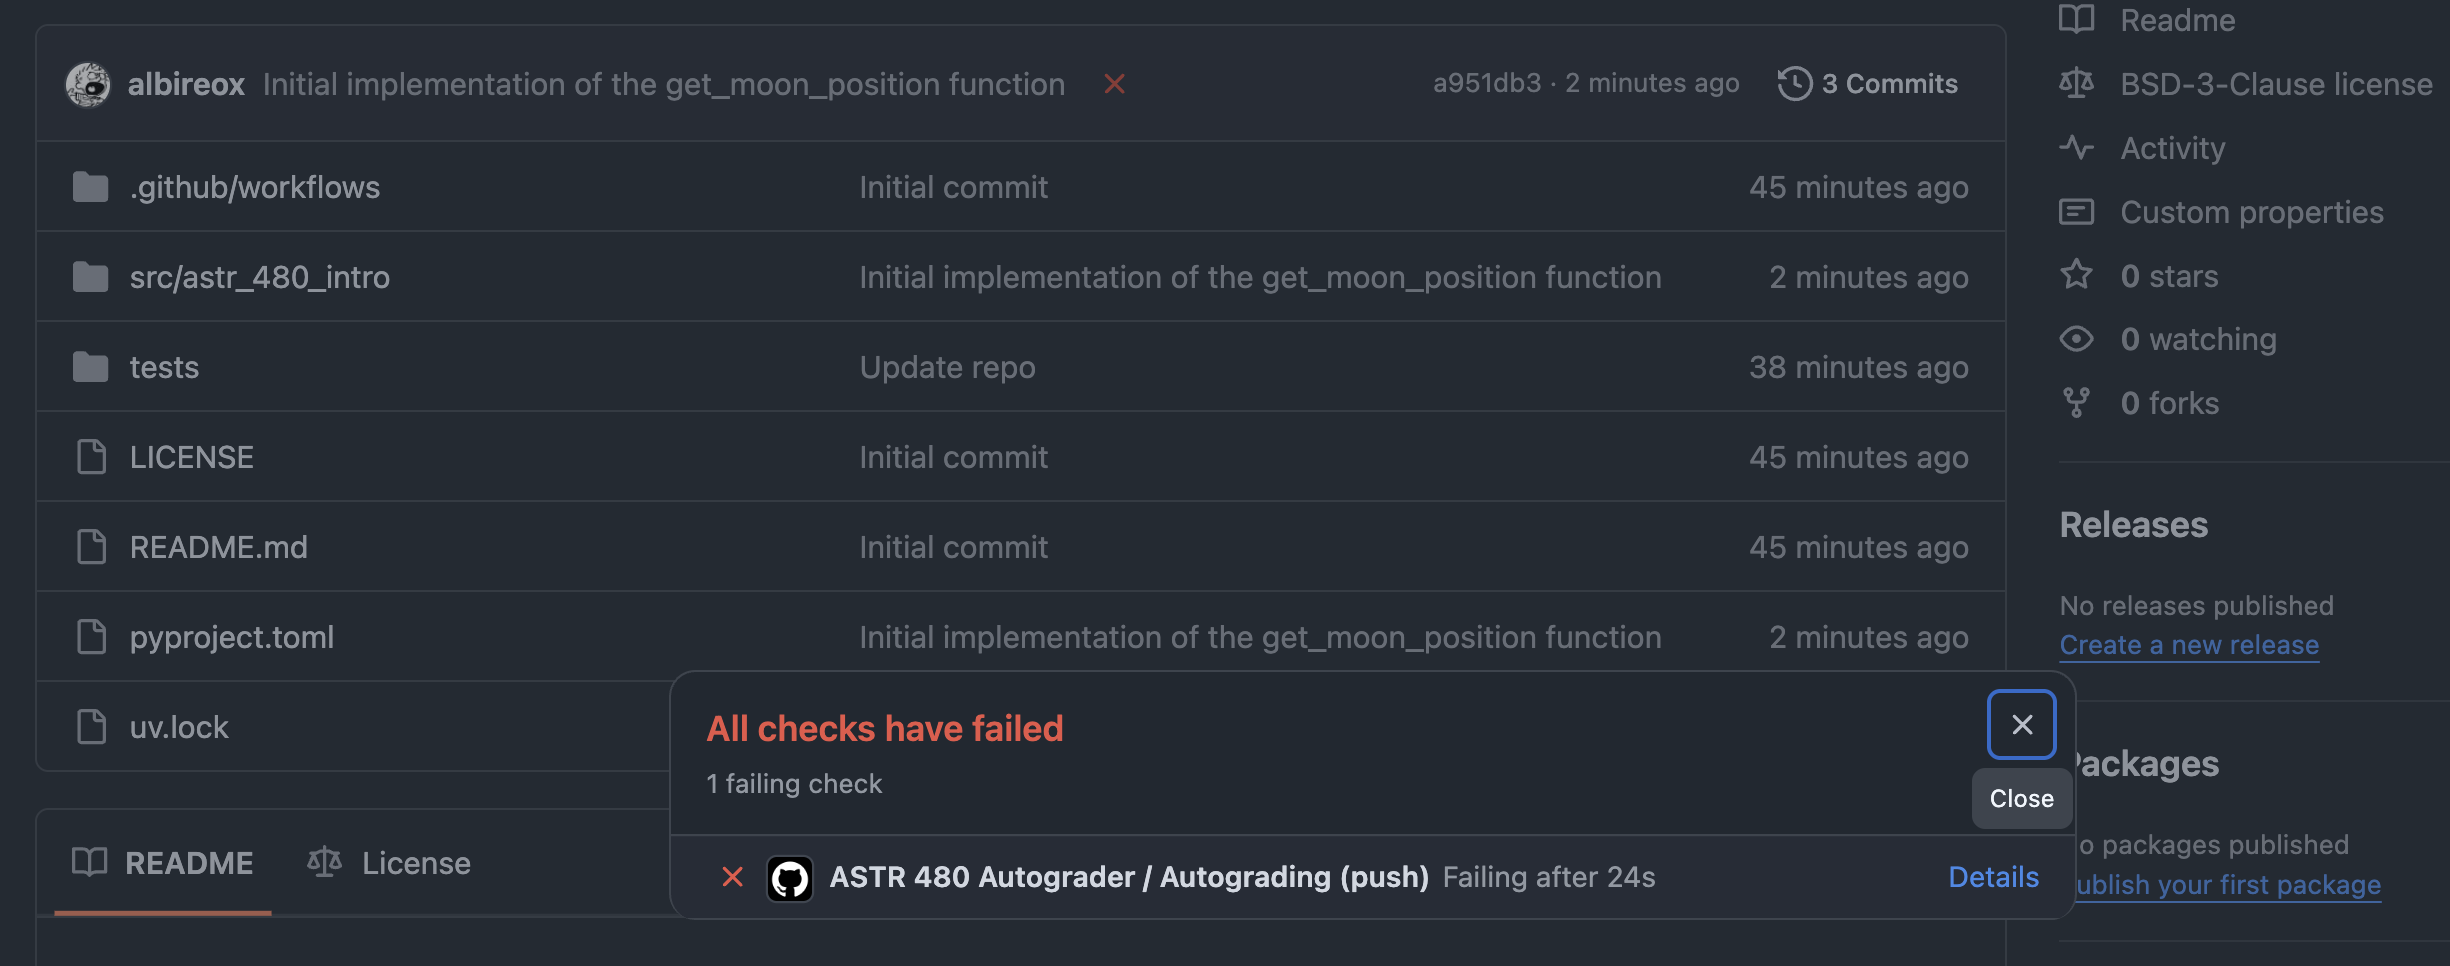
If you click on Details and then on Test with pytest you will see that one of the automated tests passed but the other failed.
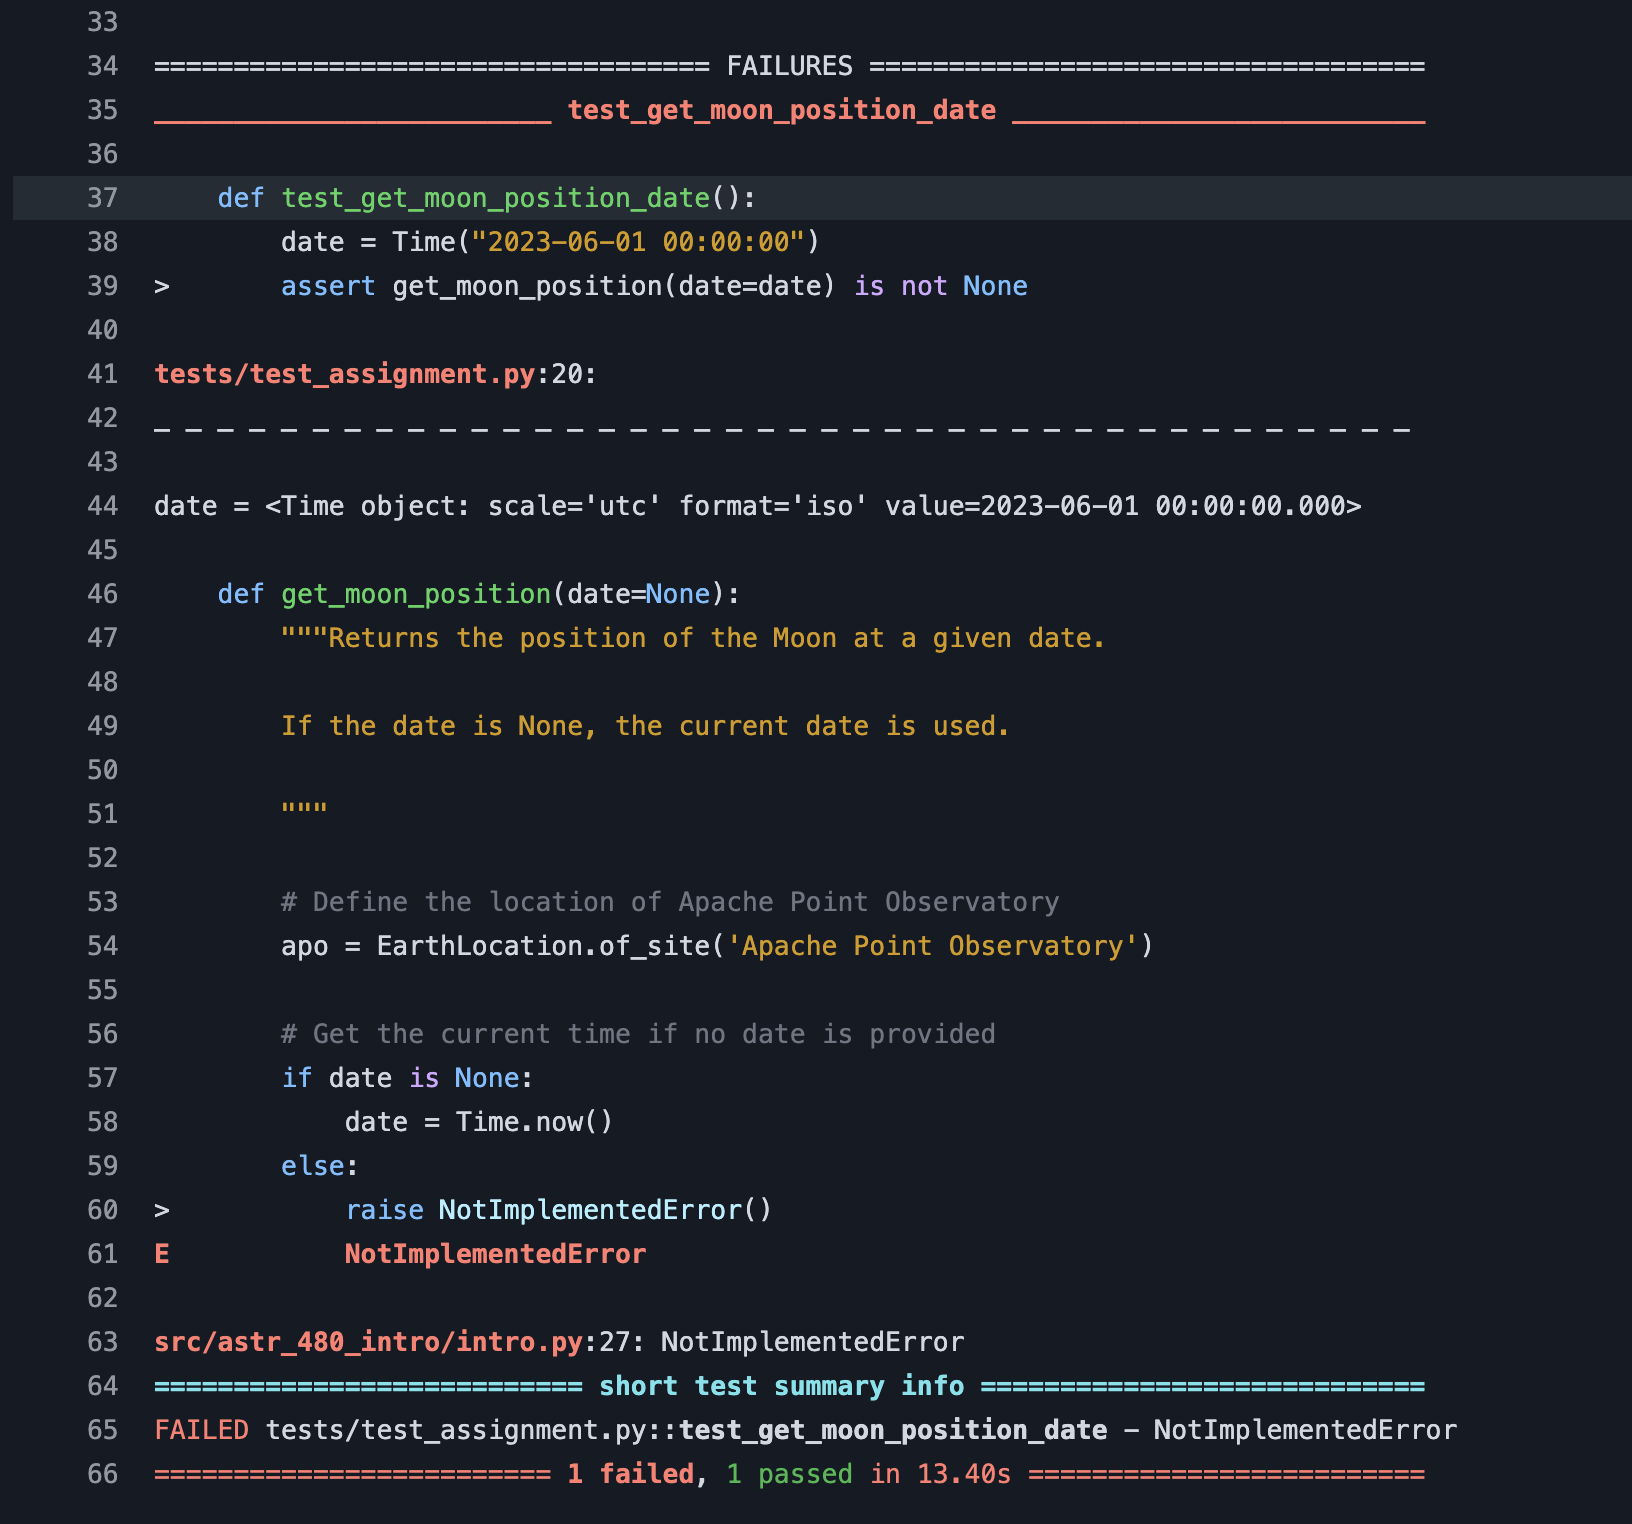
If you look carefully you’ll see that the test that checks the function when we pass a date as an argument failed. This is because we have not implemented the code to handle that case yet.
Step 8: Implement the date handling
Let’s modify the code in the get_moon_position function to handle the case when a date is passed as an argument. Add the following code in line 27, replacing our previous raise NotImplementedError() code:
    # Convert the date to an astropy Time object
    date = Time(date)
and commit the new changes
git add .
git commit -m "Handle date argument"
git push
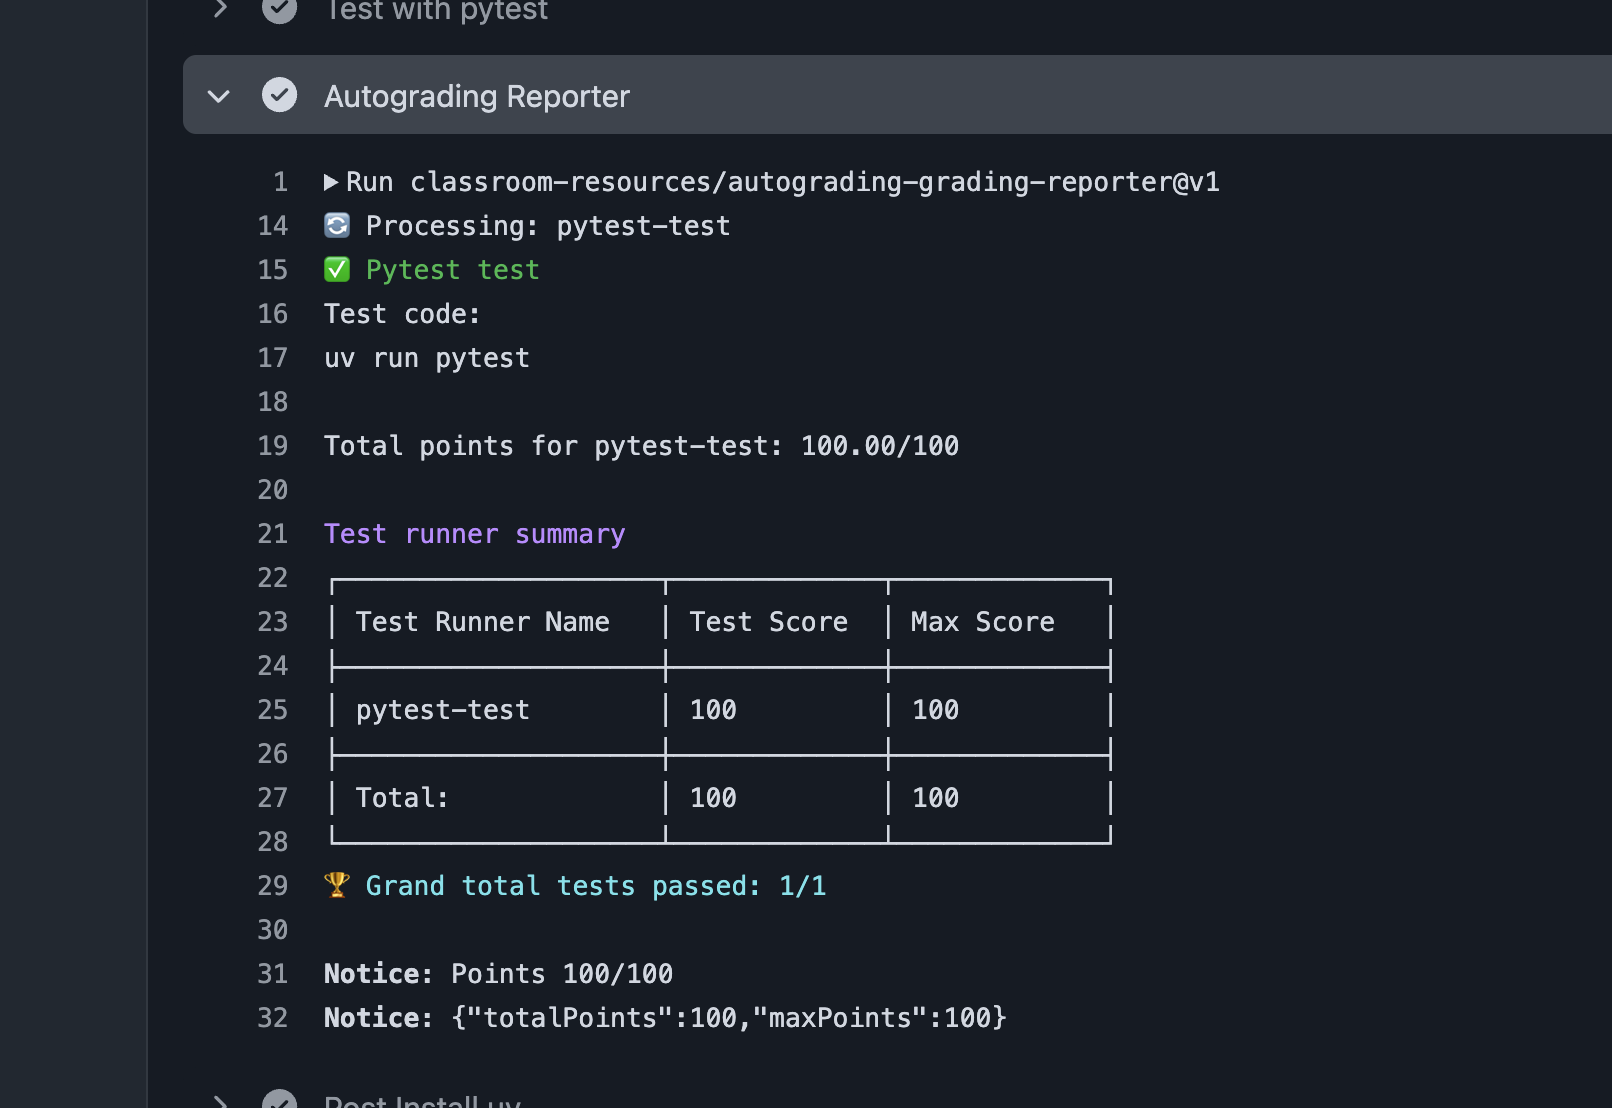
Now if you go back to the GitHub repository and refresh the page, you should see that the commit passed the tests. If you click on Details you can see the summary of the tests
Important
That the test pass does not necessarily indicate that your code is correct. The tests are designed to check that your code can be executed and runs minimally, returning some reasonable results. In general the automated tests do not check for correctness. That is done by the instructors by running a different set of tests and looking at the code directly.
Step 9: Running the tests manually
You can also run the tests manually in your local environment. To do this, make sure you are in the root of the repository and run the following command
$ pytest

Test session starts (platform: linux, Python 3.12.9, pytest 8.3.5, pytest-sugar 1.0.0)
rootdir: /home/jovyan/work/introduction-to-git-and-github-albireox
configfile: pyproject.toml
plugins: sugar-1.0.0, mock-3.14.0, cov-6.1.0
collected 2 items

 tests/test_assignment.py ✓✓                                                                   100% ██████████

Results (0.32s):
       2 passed
Again, remember that the tests are not a guarantee that your code is correct. They are just a way to check that your code runs without major errors.